Turn requests from your "sales @ your company" address into a Sale, your emails from "support @ your company" address into Support Tickets and track them through Accelo, or a request from one of your clients keen to get the ball rolling directly into a Project.
With a click of a button, easily turn requests directly into sales, projects or tickets right inside of your Accelo Request Inbox.
Using this guide, you can:
Configure Requests for Conversion
Convert the shared emails you receive in the Request Inbox into to a new Sale, Ticket, or Project. When you convert, it auto-populates the details from the request to the work component so you don't have to re-enter any data.
Your account is configured to present conversion types to your default Sales, Ticket, and Project types.
If you've set up other Sale, Ticket, or Project types and would like to create new or edit existing Conversion options, you'll want to navigate to the Request Conversion settings page.
To add and edit conversion options:
-
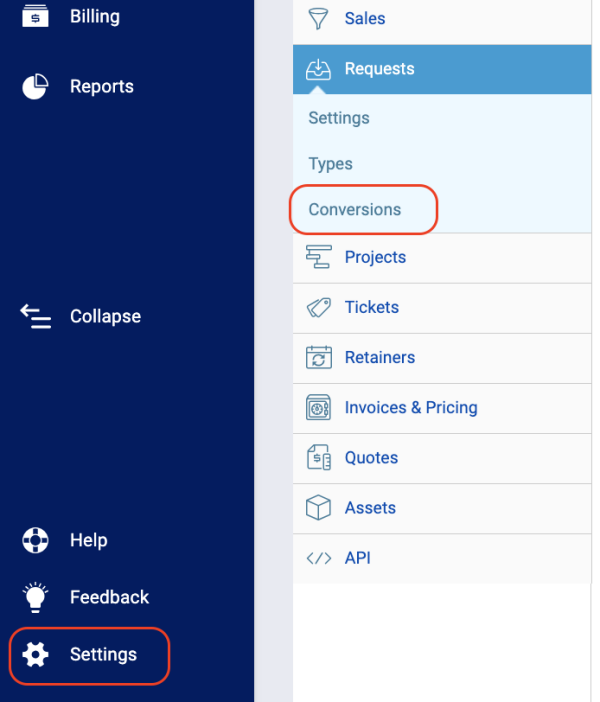
Click on the Settings at the bottom left and choose Requests.
- Navigate to the Conversions section.
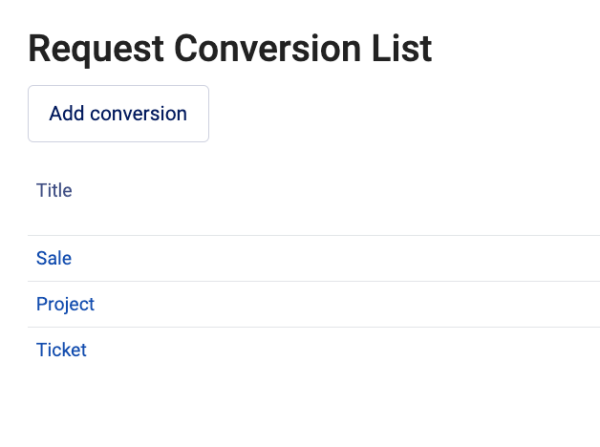
 On the Request Conversions page, you can add new conversions by clicking the Add Conversion button, or edit existing Conversions by clicking on the Conversion Title.
-
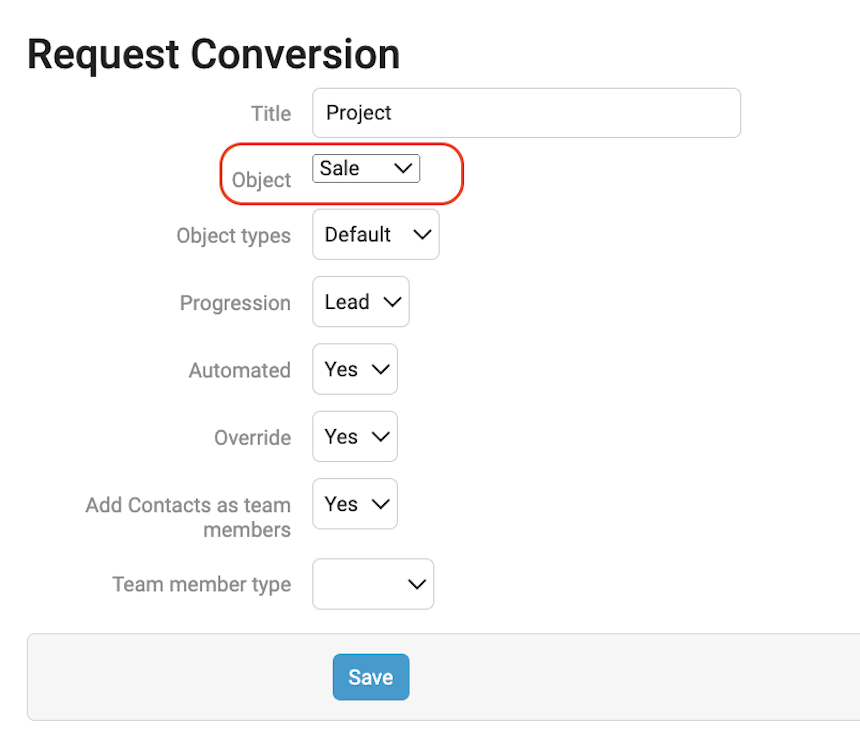
Depending on which Object you choose (sale, ticket, or project) you'll be presented with some different conversion options.
Convert to Ticket:
Convert to Sale: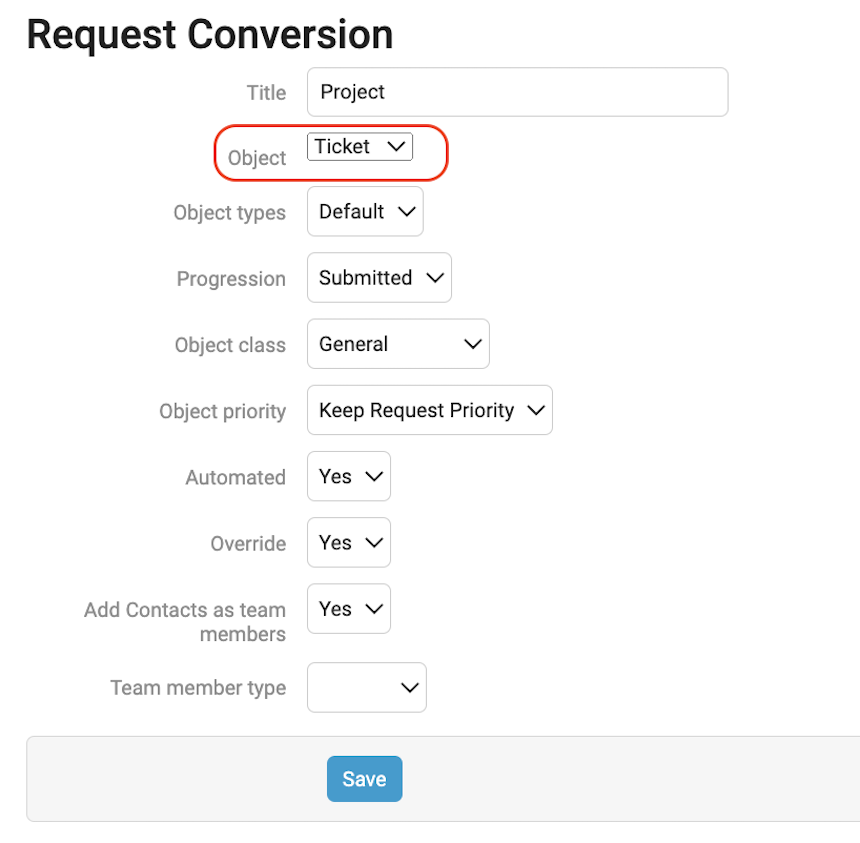
Convert to Project: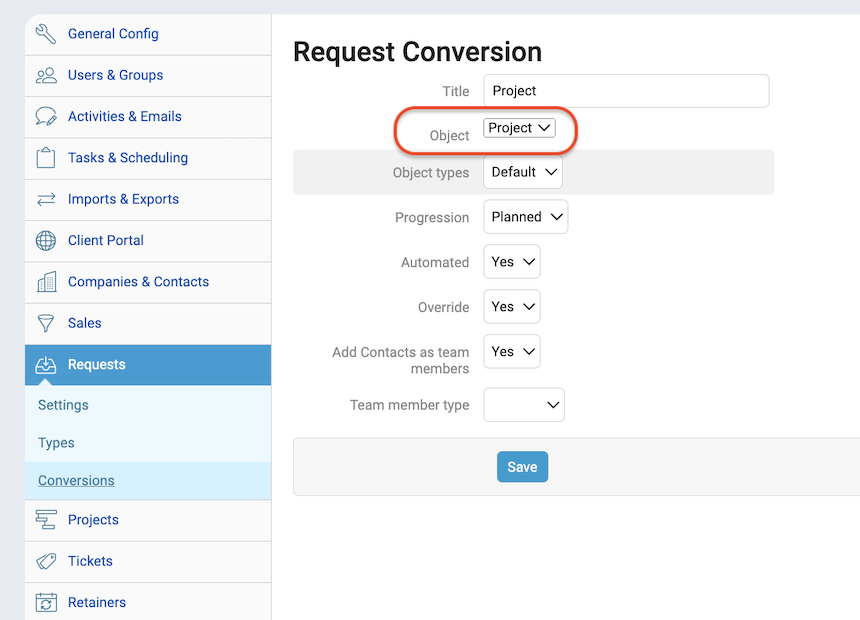
5. Fill out the Conversion Type details:
-
-
-
Title: Name your conversion.
-
Object: Choose what you wish to Convert to - Sale, Ticket, or Project.
-
Object types: If you have created more than just the default type, choose which Module Type you wish to convert to.
-
Progression: Choose which status progression to begin your converted sale, ticket, or project. If you use automated triggers, you may want to consider setting your override to "Yes" so that any hidden & required progression actions will occur.
-
Object class (Ticket conversions only): Choose the issue/ticket class that is associated with the converted ticket; these can be customized in Ticket settings.
-
Object priority (Ticket conversions only): Choose the priority of your converted ticket; by default, the options are Extreme, High, Medium, Low, and None. These can be configured in Ticket settings.
-
Automated: By default, this field will be No. Change this to yes if you'd like to set up an automated conversion with triggers.
-
Override (only if Automated is set to "Yes"): Override the default sale, ticket, or project settings with your Trigger Actions. This should also be on if you desire to have any Hidden & Required Progression Actions to fire.
-
-
-
Add conversion options to each Request Type
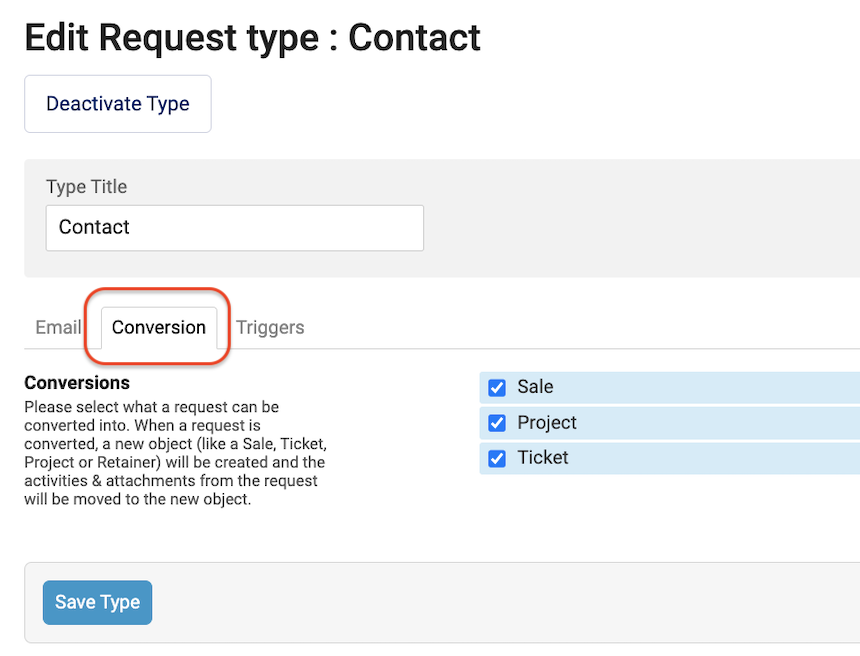
Once the conversion type has been set up, you'll want to turn them on for the appropriate request types for which you'd like these to be used. You can find this on the Conversions tab after you've clicked into a Request Type.
To enable conversions for a Request Type:
-
Click on the Module Button in the top left of Accelo and choose Configuration.
-
Navigate to the Requests configuration and then to the Types section.
-
Click on the title of the Type you wish to configure and navigate to the Conversions tab.
-
Go through your conversion options and select what a request can be converted into.
