Having a central database of assets and knowledge surrounding them is all well and good, but Accelo is much more than a fancy database or library - we're about helping you and your colleagues work smarter. Creating Assets are a great way to link these details over to any work you’re doing.
Using this guide, you can:
Create an Asset
There are two ways to create a new Asset:
-
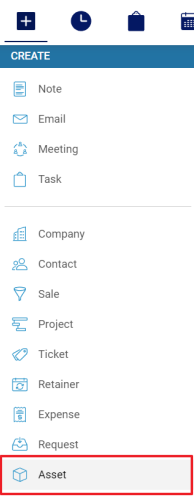
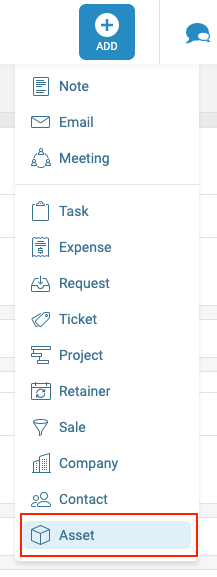
Log into Accelo, then click the Create button in the navigation bar and choose Asset.

-
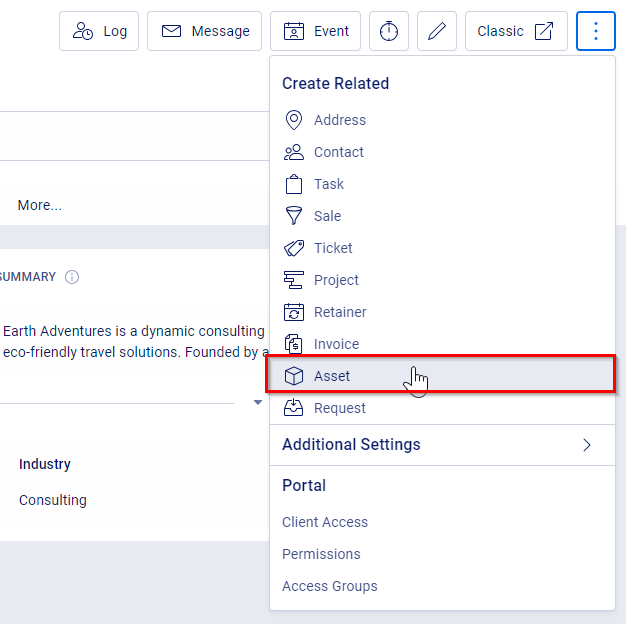
From the view Company page, click the 3 Dots Icon then choose Asset from the Create Related drop-down.

Once you’ve selected to Create an Asset, there are a few required fields to confirm:
-
Company - What Company does this Asset belong to?
-
Asset Title - What is the name of this Asset?
-
Type - Which type of Asset is this? We go more into the configurations below. Note that once you’ve selected a type, all related Asset Fields will then populate for you to configure.
-
Tags - This is an optional field to tag this Asset. Useful for when you may have a few unique ones you want to quickly sort from your lists.
After the fields above are confirmed, hit Create Asset and you’re done! Now if you need to, you can link this asset to any work item under this Client.
Configure Asset Types
The key to making Assets really useful is the ability to customize your Asset types. You can create public fields and sensitive fields. This field setting ensures that only people with specific access granted will be able to view this field, making it easier and safer to store access details, pricing details or other more sensitive information that you don't want to share as widely with your teammates.
Users can query/filter their client database by these custom fields, making it easy, for example, to find all the clients who are running a certain operating system if it needs a patch or finding suppliers who have a certain type of advertising inventory.
Note that one should be familiar with Custom Fields before attempting to manage or configure Assets Types.
To configure Asset Types:
- Navigate to Settings by clicking the Left Hand Side Menu and selecting Settings.

- Click on Assets and select Types & Custom Fields.

- Click the Add Asset Type button.
- Enter the following details to configure this new type:

- Title - The name for this specific Asset Type.
- Status - The state of this Asset Type, which can be Active or Inactive. Inactive Assets can’t be utilized within the Accelo Platform moving forward, but can always be reactivated.
- Include Contact - Is this a type of Asset which should include a Contact?
- Include Manager - Is this a type of Asset which needs to be managed by Staff?
- Include Address - Choose whether you want to include the physical location of this Asset.
- Clone Custom Fields From - Choose to adopt any preexisting Custom Fields from previous Asset Types you created.
- Enter the following details for how you want this Asset Type to behave for each type of object you might create it against:

- Include Description - Keep the description of the Asset and details on the work object.
- Include Start Date - Have a Start Date attached to when it was linked.
- Include End Date - Include an End Date for relevance of the attached Asset.
- Click Save.
Once you have configured your Asset Type, create Custom Fields for each Asset Type. To create a Custom Field, click on the Type from the list under "Types & Custom Fields", and configure Custom Fields as normal. View the Custom Fields guide to learn how to create Custom Fields.


