Create a Template
If your Projects are similar across multiple clients, creating a Project or Milestone Template will save you time when planning future Projects. These templates can be added at to your Projects at any time, and are a great way to minimize the time required to plan new Projects!
Built-in project management with live Gantt-Chart planning, milestones & roll-up reporting, reusable task templates, budget and progress tracking, and quick click project invoicing will make it easier for you to plan, manage, work on and bill for your projects than ever before.
Using this guide, you can:
- Use our Project Planning tool to set up a Plan
- Setting up your Project Budget/Pricing
- Utilizing the Gantt Chart tool
- Create a Project or Milestone Template
Permissions Needed to Edit a Project Plan
Admin and Professional users must have Financial Visibility in order to edit a Project Plan. The only time this is not true, is if the user is the Project Manager. If you are the Project Manager, you are granted Edit Project Plan access for that specific project, even if you do not have Financial Visibility or the below permission enabled.
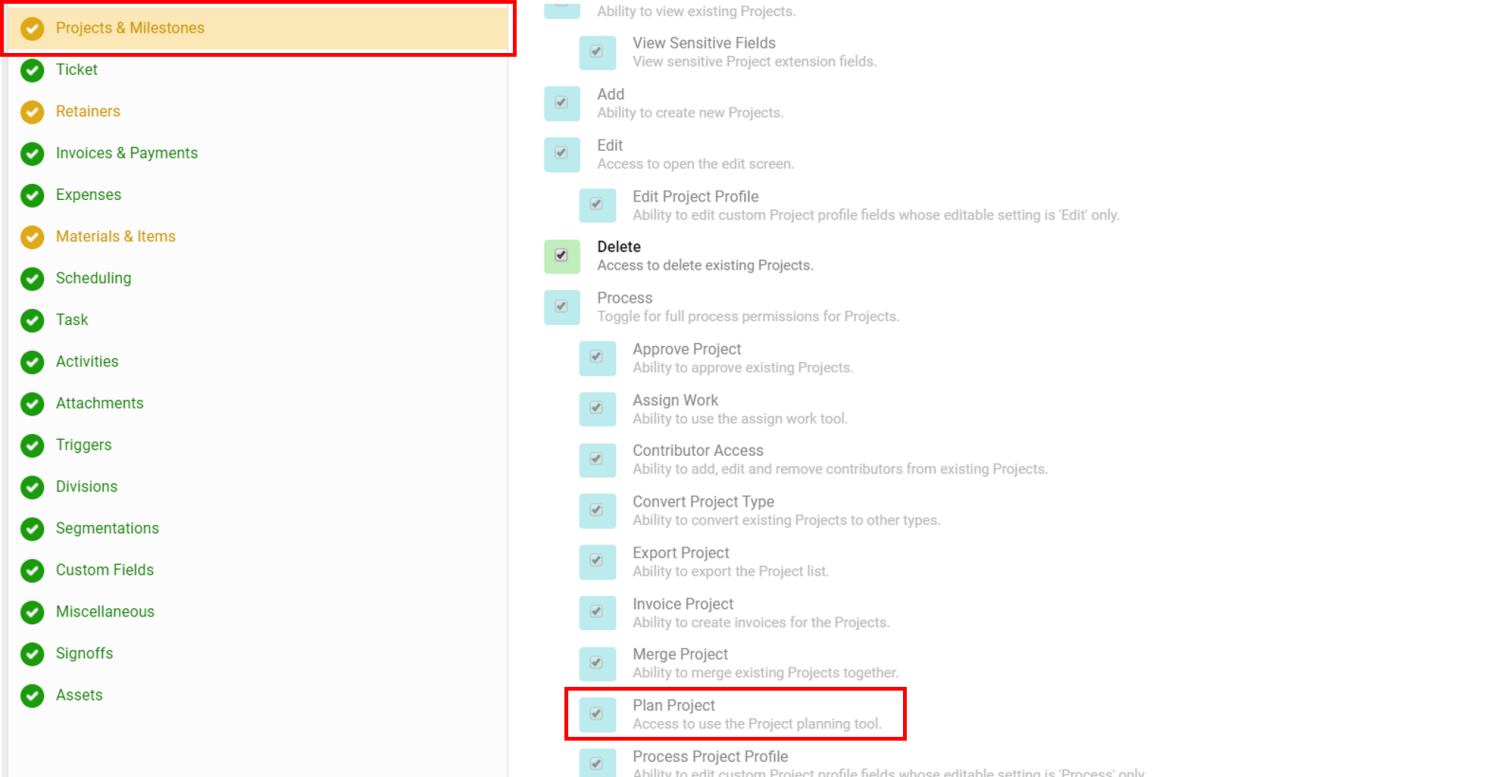
If a user is not the Project Manager and has Financial Visibility yet cannot edit a Project Plan, it is likely due to the Plan Project permission being disabled.
To grant the ability to edit a Project Plan, and Admin user must navigate to the Configuration gear > Users & Groups tab > Permissions.
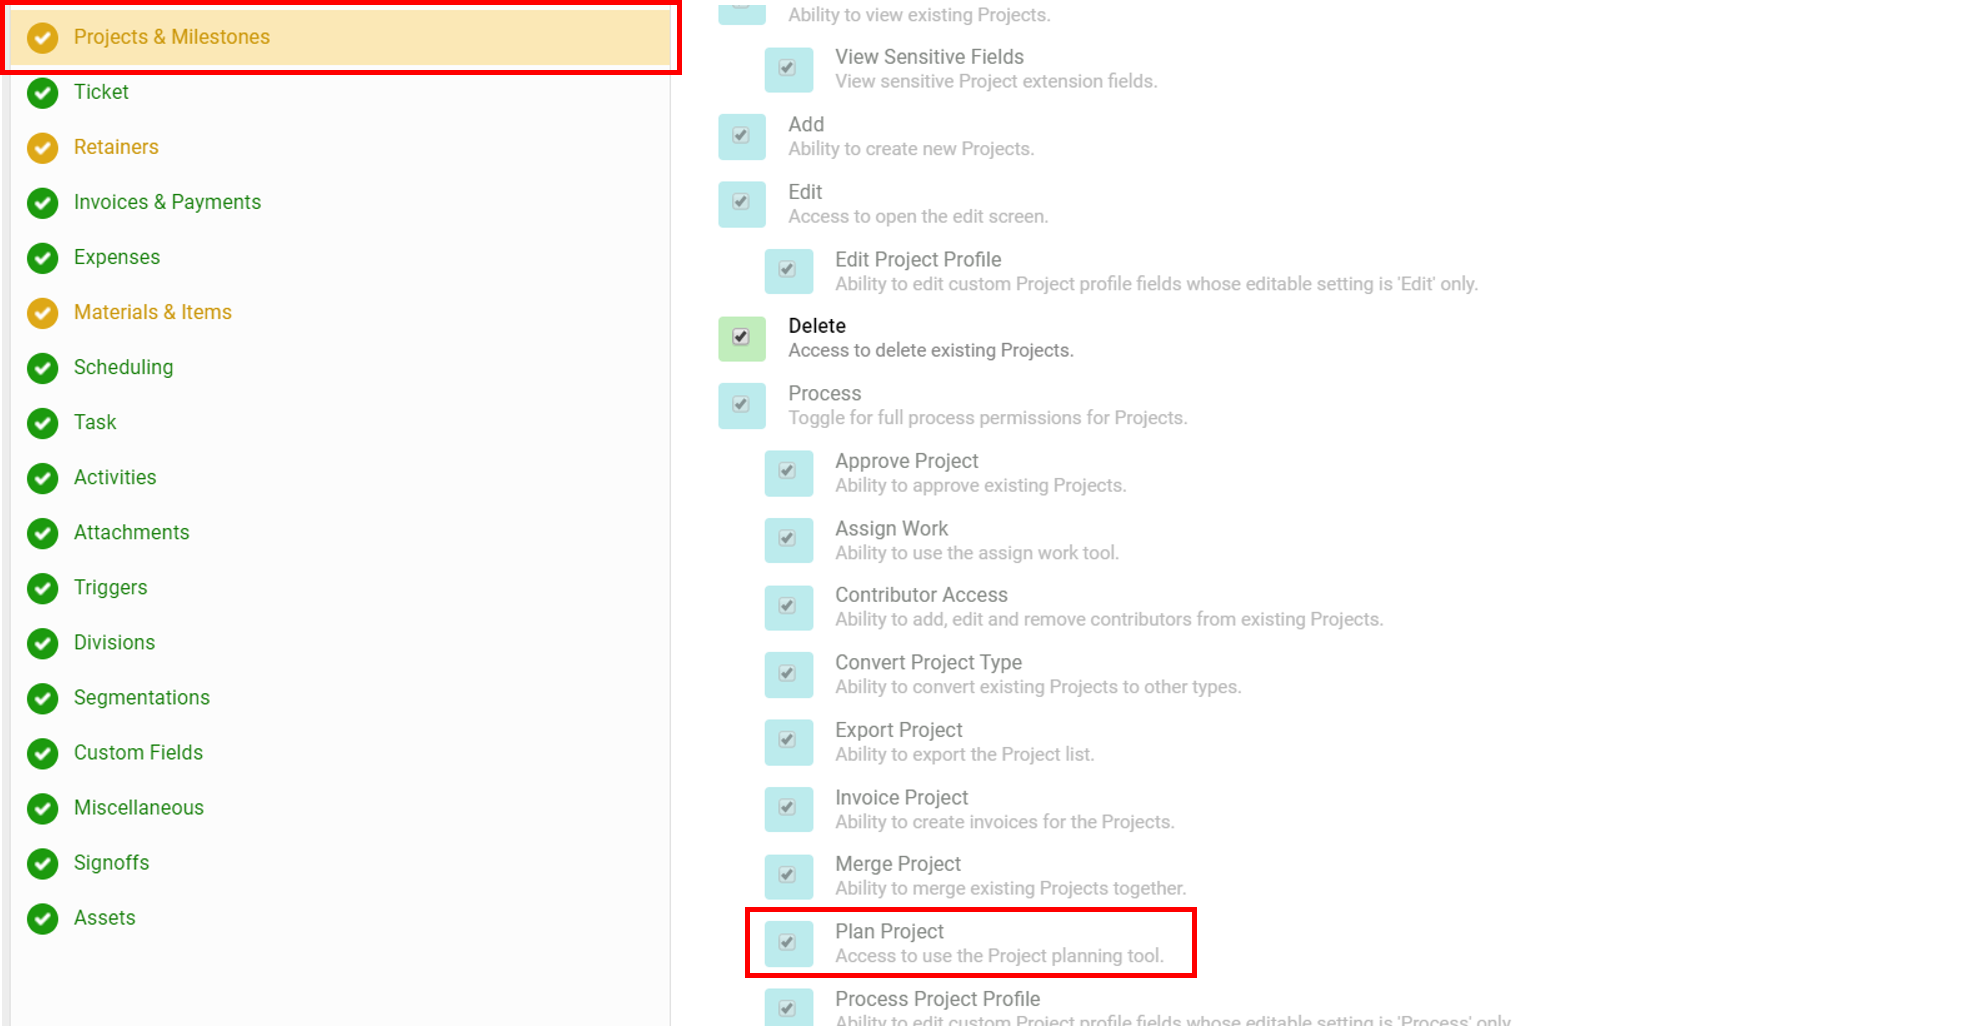
After selecting the specific user, click on the Projects & Milestones tab, then check the Plan Project permission.

Setting up a Project Plan through our Planning Tool
Creating a Project Plan allows you to define your project's budget, set-up milestones, and timelines, tasks, dependencies and more.
Click the Edit Plan option on the Overview tab of your new Project to get started.
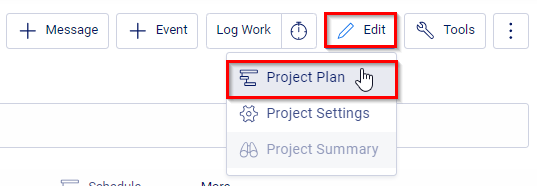
You can also use the Edit button then Project Plan option from the top of your screen.

You can still log billable time without a project plan, but the time won't have a billable rate until the plan has been updated.
You can also invoice a project that doesn't have a plan - the invoice just won't have much detail, as this usually comes from the items in the Project Plan.
Inserting Rows or Templates
The first row of the Project Plan is reserved for the project itself. All milestones and tasks must come under this row.
Simply click on an empty row to quickly start adding new items. Milestones will show up in bold, so if you've just added a few rows which appear as tasks (not bold) but they need to be milestones, you can either
-
Use the Convert to Milestone option to quickly switch them

-
Select the row and then use the Insert Below option to add a task within, and voila, you've got a milestone now with a task underneath. This is because tasks cannot live within tasks.

The indent/outdent buttons are also handy for moving one or multiple rows into or out of the level above it.

If you've got some templated milestones or even a whole templated project, use the Insert Template Below option to find it and drop it in. Note that the templates will be added below the currently selected row.
NOTE: It is considered best practice to not exceed more than 100 tasks per Project, as this will cause slower Project saving and updating.
Keyboard Shortcuts
Now that you've familiarized yourself with navigating and inserting items into the Project Plan, you may grow more comfortable with utilizing our quick Keyboard Shortcuts. Utilizing these keystrokes on your keyboard will allow you to stick to quickly entering details on the left-hand-side without needing to click into the navigation bar.
- Indent: ALT + arrow right
- Out-dent: ALT + arrow left
- Move up: ALT + arrow up
- Move down: ALT + arrow down
- Insert Below (Task): Enter/Return key
Mac users, please use the Option key in-place of the ALT key above.
Setting the Project Budget/Price
The overall project budget should be configured by editing the project row (row 1). Click the edit icon on the left and a new window will open.

Select the Budget tab to view the options for setting the Project Budget.

-
Project Budget: Set the type of Project Budget you wish to include. You can start by hitting the edit button.
-
-
Fixed Fee: This option will ignore any prices or budgets of the children (Milestones & Tasks) and give it a fixed price. We recommend choosing this for work where there is a set fee for the Client, and you don't bill based on your time logged. You can toggle to include your Materials & Expenses in this fixed-price or hold them separately.
-
Calculated: This option includes the budgets and prices of the children (Milestones & Tasks). We recommend choosing this for work that is billed based on your time & work logged. This option will always include your Materials & Expenses and include them in the budget.
-
Non-Billable: This option sets all your work logged as Non-Billable. We recommend choosing this option for internal work, or for work which aren't considered as part of your invoicing. As your work cannot be invoiced with this option, it will exclude any option to select a Service Budget.
-
Service Budget: This is the depicted budget based on your options chosen above. It will either be defined manually by yourself (Fixed Fee), it will sum up the children (Calculated) or not be present (Non-Billable).
-
-
-
Service Item: Search from your pre-set list of Service Templates. This will allow you to keep track of the Services you are providing, for your personal records. This will not affect the Budget price. Work set against the Project directly will utilize this service, and therefore adopt the ledger & tax codes tied to your service template.
-
Rate: The rate you want to apply to work logged against the object. This can be your Staff Rates, or an override rate, or no rate. These rates will determine usage against your budget & pricing. This option is unavailable with Non-Billable budgets, as it wouldn't have any rates that can be applied to the Client.
-
Time: Set the number of hours budgeted for this Project.
-
-
Calculated: The number of hours this work object will take will be calculated based on the individual children beneath it.
-
Defined: The number of hours this work object will be a set amount. This will ignore the budget of the children placed beneath it.
-
-
-
Expense Budget: Set a fixed price for any Expenses created against this Project, if necessary.
-
Materials:
Add any Materials to the Project. These can be inputted from your saved list of Materials, or can be entered as needed for each project. Click "Add New Materials" to add a new Material. You can list as many Materials as required.
Click OK to confirm these changes.
Milestone Budgets
If you open up the budget tab on a milestone, you'll see it is quite similar to the project.

Some important things to note:
-
If you set the fixed hours for a milestone budget, then it doesn't matter how many hours you add to the tasks underneath it - those task hours will never affect the budget, though they will affect the project's progress bar.
-
The calculated hours only include hours for tasks directly under the milestone. So if there's a milestone underneath with more tasks, those hours are included in the calculation - though they are rolled-up in some places.
-
If you see a Milestone Price section and a Subtotal Price section then this means the milestone has 1 or more sub-milestones. The Milestone Price only applies to that milestone and its immediate tasks. The Subtotal Price section allows you to override the price of everything within and below the milestone.
The simplest way to budget is to let your milestones calculate their budget based on the tasks you add within since tasks can have a rate and the number of hours specified. If this is too fine-grained, you can set a Fixed Price on your milestones, and then compare this with the calculated price to find any milestones which may be under-budgeted.
Utilizing the Gantt Chart tool
The Gantt Chart on the right-hand side of the project plan is one of the better way to visualize the project plan's schedule, as well as see which milestones and tasks work together to form dependencies.
For example, by clicking on one task and dragging it to another, you can quickly create a dependency. By default, dependencies created in this way will not have any delay, meaning the downstream task will be set to start the day after the pre-requisite task has finished.
Duration Counter
On the Gantt Chart, you may spot a little red number that appears above a milestone or task as you extend (or reduce) the duration of it in the Gantt. This number gives a real-time count of the days/duration planned for that row - whereas previously you'd wait until the resize was complete to confirm the changed duration.
Collapse Milestones
Avoid endless scrolling in large projects by simply clicking the little arrow to the left of a milestone to collapse (hide) all the sub-milestones and tasks.

Creating Project and Milestone Templates
Is most of your client work similar in nature? Do they usually follow the same process? We would suggest utilizing Project and Milestone templates.
These pre-populated templates can be brought into any new Project or added onto an existing one. You can do so by clicking Insert Template Below.

A new window will pop up where you can select a Project Template or Milestone Template you have already created. Click the Insert button to insert this template into your Project Plan.
There are multiple ways to create Milestone or Project templates:
-
In your Configurations, you can find these options listed under Projects. Creating a Project or Milestone Template is exactly like creating a Project Plan from scratch, but once saved, these Templates will save you hours of time in the future!

-
You can also create it from the Project itself. Click the Create Template button on the top right. It will save this newly made template and you can replicate it on upcoming projects.


