Track all of your lunch meetings or training materials, and other miscellaneous expenses in the Expense Module, and instantly bill clients and/or reimburse business expenditures.
Using this guide, you can:
- Create an Expense
- Approve and Edit an Expense
- Access your Expense List
- Invoice an Expense
- Create Expenses against Retainers
Create an Expense
The Expenses tab is accessible on your Projects, Retainers, and Tickets.
To create an expense:
-
Navigate to the desired Project's Expense tab, then click the +Expense button.

-
When beginning to create an Expense, the Add Expense modal window will appear.

-
Title – enter a title for your Expense. An Expense can not be created without a Title.
-
Type – choose the Expense Type for this particular expense. NOTE: Based on the Expense Type chosen, you may notice new fields appear or disappear in the modal. This is related to the individual options chosen when creating the Expense Type, such as Quantity & Units, Purchase Vendor Options, Tax Options, etc.

-
Where does this Expense belong? – choose the Project, Ticket or Retainer Period that this Expense is associated with.
-
Date – choose the date that the Expense was made.
-
Owner – the user who is actually responsible for the Expense.
-
Attachment – if attachments are needed, such as images of receipts or odometers for proof of an Expense, then they can be added in this section.
-
Add another? – Adding more than one Expense? Click the Add another? checkbox. After submitting the Expense, another modal window will open with pre-loaded information from the previously submitted Expense.
-
Once all the requested information is saved, it will appear under the appropriate Project or otherwise.
NOTE: Expenses don't affect Project budgets. However, Expenses will be reflected in the Approved and Unapproved details on the right-hand-side of the View Project screen. The top row shows the value of the Approved/Unapproved time + Expenses so you can get an indication of the total value of the project.
Approving and Editing an Expense
After submitting an expense, a notification email is sent automatically from the user entering the expense to the user managing the project, prompting the manager to approve the expense. You will also be able to see this email inside the project or issue activity feed.
After you submit an Expense, by default it will appear in a Submitted status. All of your expenses for an object will then be visible in the Expense Tab for that Object.
To edit/change an Expense, simply click on the 3 dot icon to the right of it.
Your editing options:
-
Edit - This will take you to the same screen when Creating an expense to update your details.
-
Approve - This will mark the expense as being Approved. A notification will be sent to the user who submitted the expense, informing them of the change.
-
Decline - This will mark the expense as being Declined. A notification will be sent to the user who submitted the expense, informing them of the change.
- Reimburse - Accelo cannot do any kind of payment reimbursement. This option is used to mark an expense as reimbursed, in Accelo, once it is paid to the owner externally.
-
Delete - This will delete the Expense. This can only be done when the Expense is in a 'Submitted' status. If changed to Approved/Declined, deleting will no longer be an option for record-keeping purposes.
-
Permissions - For those without inherited ability to view expenses. you can invite users to have selective permissions for the particular expense here.
Expense List
You can always view your Expenses under a specific Project, but you may wish to view all of your Expenses over all your Projects.
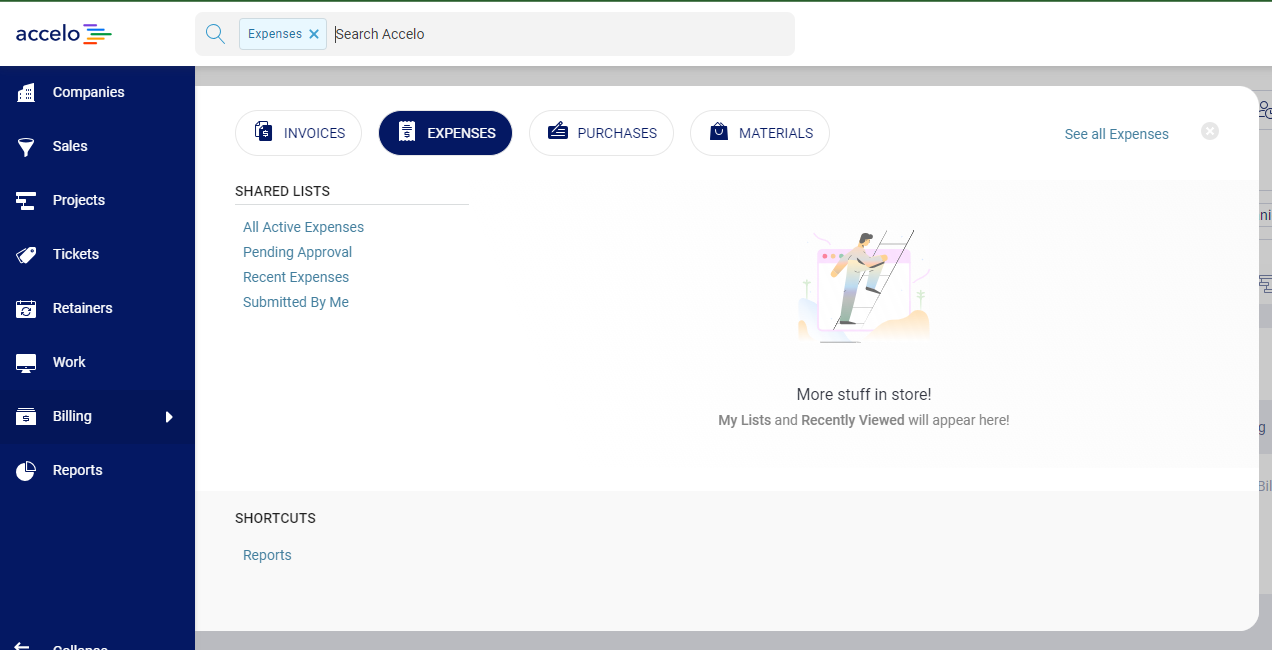
You can easily view all of your Expenses by selecting Billing then clicking the Expenses option and choosing a list.

Invoicing Expenses
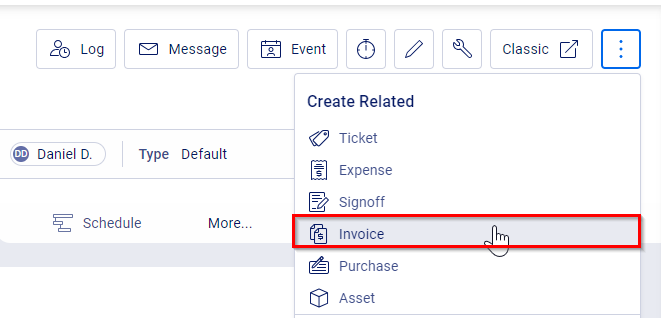
Invoice a Project by clicking the 3 dots icon at the top of a Project navigation bar and selecting Invoice under the Create Related options.

Expenses are added as line items underneath the Project and Milestone line items. An Expense must be approved and marked as billable in order to be invoiced.
When invoicing an expense, there are only a few things to note:
-
Remove the Expense from invoicing by un-checking the box on the left of the expense.
-
Change the Ledger/Tax codes to suit your accounting system.
-
Despite the previously approved Quantity and Price, these prices can still be edited on the Invoice page for last-minute needs.
-
Once invoiced, the status of the expense will be changed to 'Invoiced'. The Expense will no longer be editable at this point without deleting the Invoice it was placed under.
Expenses against Retainers
The Expenses tab in the Retainers Module is found at the Period level. Expenses are intended as unknown costs so they cannot be added to a Retainer template. However, if you find you incur additional expenses during the course of a Retainer Period, you can add those costs against the specific period using the same steps as above.


